


Logging is a crucial aspect of any application, providing valuable insights into its behavior and aiding in debugging. In this post, we'll explore how to configure logging for your Tauri app, a powerful framework that allows you to build desktop applications using web technologies. We'll cover the steps to set up logging, integrate it with your Rust and JavaScript code, and control the log output. Let's dive in and enhance your Tauri app with effective logging capabilities.
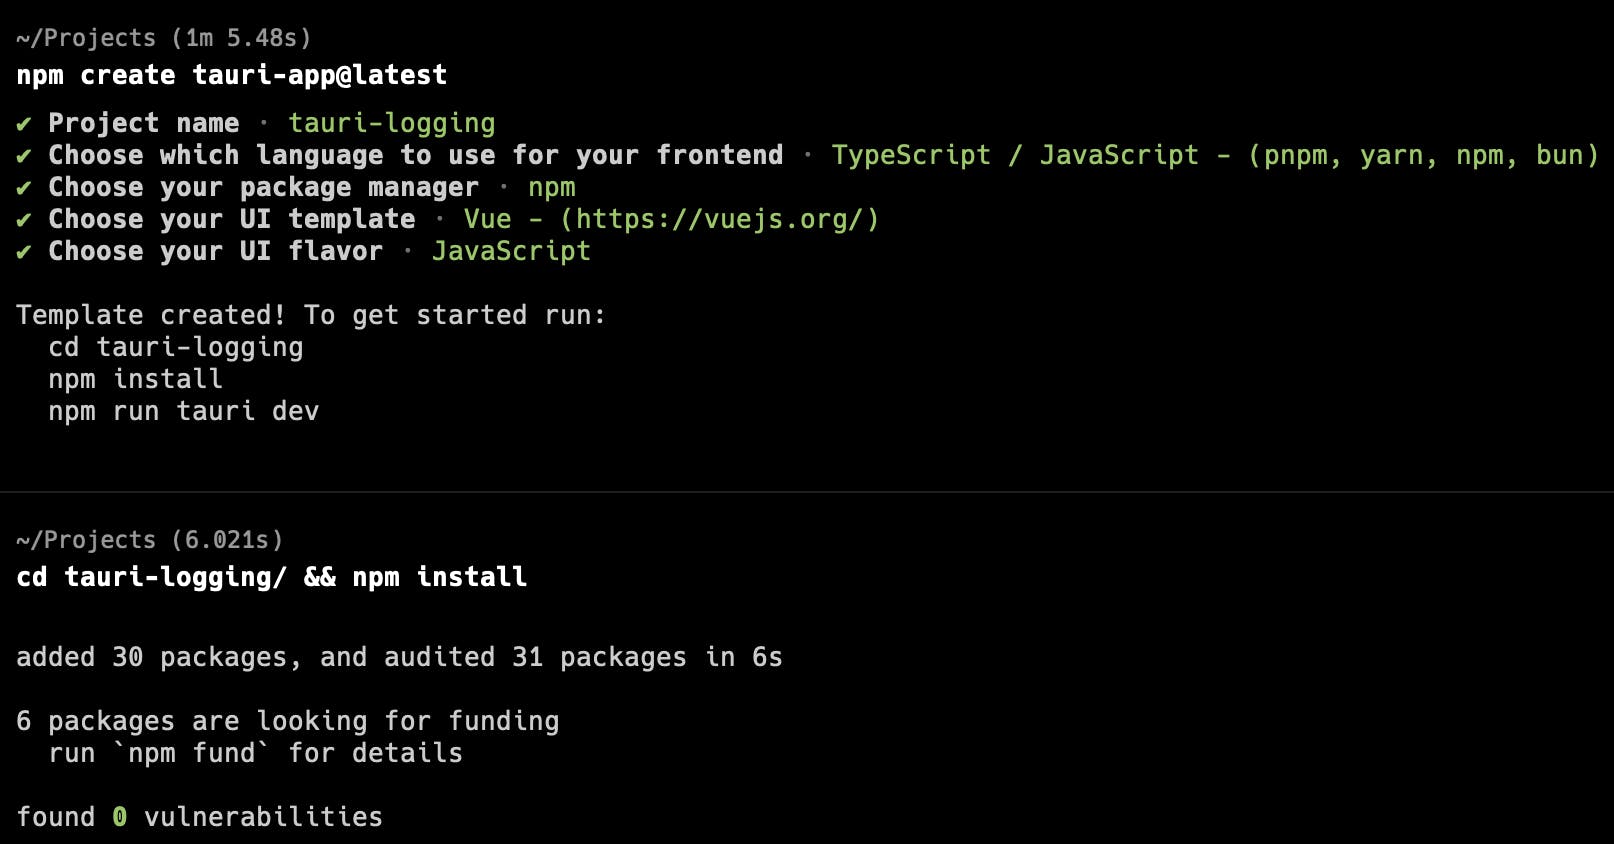
1) Create a new Tauri application
In this example we will create a Tauri app using Vue for the frontend, though you should be able to adapt these instructions to any frontend framework.
There are many options to bootstrap a Tauri app (see the docs), in this case we will use npm.
2) Configure logging
First we need the log crate added to Rust
cd src-tauri/
cargo add log
cat Cargo.toml
  ...
[dependencies]
tauri = { version = "1", features = ["shell-open"] }
serde = { version = "1", features = ["derive"] }
serde_json = "1"
log = "0.4.21" # <-- what cargo just added
The log crate only enables the use of the log macros (log::info!(), log::error!(), ...). Paired with that you need a log handler. There are many of those in the Rust ecosystem, but luckily for us, the Tauri community has a custom built log handler with the perk of enabling you to log from Rust or Javascript and have those log statements merged into the same set of defined log targets (STDOUT, files, and even the dev console).
Installing and configuring the default Tauri log handler just takes a few steps.
Currently the crate is installed from Github, so it is easiest to just add this line to your Cargo.toml file (as per their docs)
[dependencies]
tauri = { version = "1", features = ["shell-open"] }
serde = { version = "1", features = ["derive"] }
serde_json = "1"
log = "0.4.21"
## add this next line.
tauri-plugin-log = { git = "https://github.com/tauri-apps/plugins-workspace", branch = "v1" }
Following the Cargo setup, you need to install the js guest bindings in a manner depending on your package manager
pnpm add https://github.com/tauri-apps/tauri-plugin-log#v1
# or
npm add https://github.com/tauri-apps/tauri-plugin-log#v1
# or
yarn add https://github.com/tauri-apps/tauri-plugin-log#v1
Next, we need to configure the logger in the main.rs file; pulling in the crate with use then adding the plugin to the Tauri Builder
// Prevents additional console window on Windows in release, DO NOT REMOVE!!
#![cfg_attr(not(debug_assertions), windows_subsystem = "windows")]

use tauri_plugin_log::{LogTarget}; //## <-- add this use statement

#[tauri::command]
fn greet(name: &str) -> String {
    format!("Hello, {}! You've been greeted from Rust!", name)
}

fn main() {
    tauri::Builder::default()
        //## add this plugin statment
        .plugin(tauri_plugin_log::Builder::default().targets([
            LogTarget::Stdout,
            LogTarget::Webview,
        ]).build())
        // ##
        .invoke_handler(tauri::generate_handler![greet])
        .run(tauri::generate_context!())
        .expect("error while running tauri application");
}
The LogTarget's are where the log statements will appear,
LogTarget::Stdout: The consoleLogTarget::Webview: The dev console in the Tauri windowAdditionally, you can add
LogTarget::LogDir: The designated log folder based on the operating system as illustrated in the table below.
*bundleIdentifieris found intauri.conf.jsonundertauri->bundle->identifier
| OS | Pattern | Example |
| macOS | {homeDir}/Library/Logs/{bundleIdentifier} | /Users/Alice/Library/Logs/com.tauri.dev |
| Linux | {configDir}/{bundleIdentifier} | /home/alice/.config/com.tauri.dev |
| Windows | {configDir}/{bundleIdentifier} | C:\Users\Alice\AppData\Roaming\com.tauri.dev |
3) Start logging
In your Rust code you can add statements such as shown here in the excerpt from main.rs
#[tauri::command]
fn greet(name: &str) -> String {
    log::info!("Sending a greeting to: {}", name);
    format!("Hello, {}! You've been greeted from Rust!", name)
}

fn main() {
Similarly, in the js code you can log in this manner (be sure to import from tauri-plugin-log-api )
<script setup>
// Greet.vue

import { ref } from "vue";
import { invoke } from "@tauri-apps/api/tauri";
import {info} from "tauri-plugin-log-api"; // <-- add import

const greetMsg = ref("");
const name = ref("");

async function greet() {
  // Learn more about Tauri commands at https://tauri.app/v1/guides/features/command
  info(`Greeting the user...${name.value}`);
  greetMsg.value = await invoke("greet", { name: name.value });
}
</script>
In order to see the logs in the the webview console (LogTarget::Webview), from javascript you’ll need to call the attachConsole, ideally as early as possible. In this Vue example, we call it in main.js.
// main.js
import { createApp } from "vue";
import "./styles.css";
import App from "./App.vue";
// Add these lines to attach the console to the Tauri logger
import { attachConsole } from "tauri-plugin-log-api";
attachConsole();

createApp(App).mount("#app");
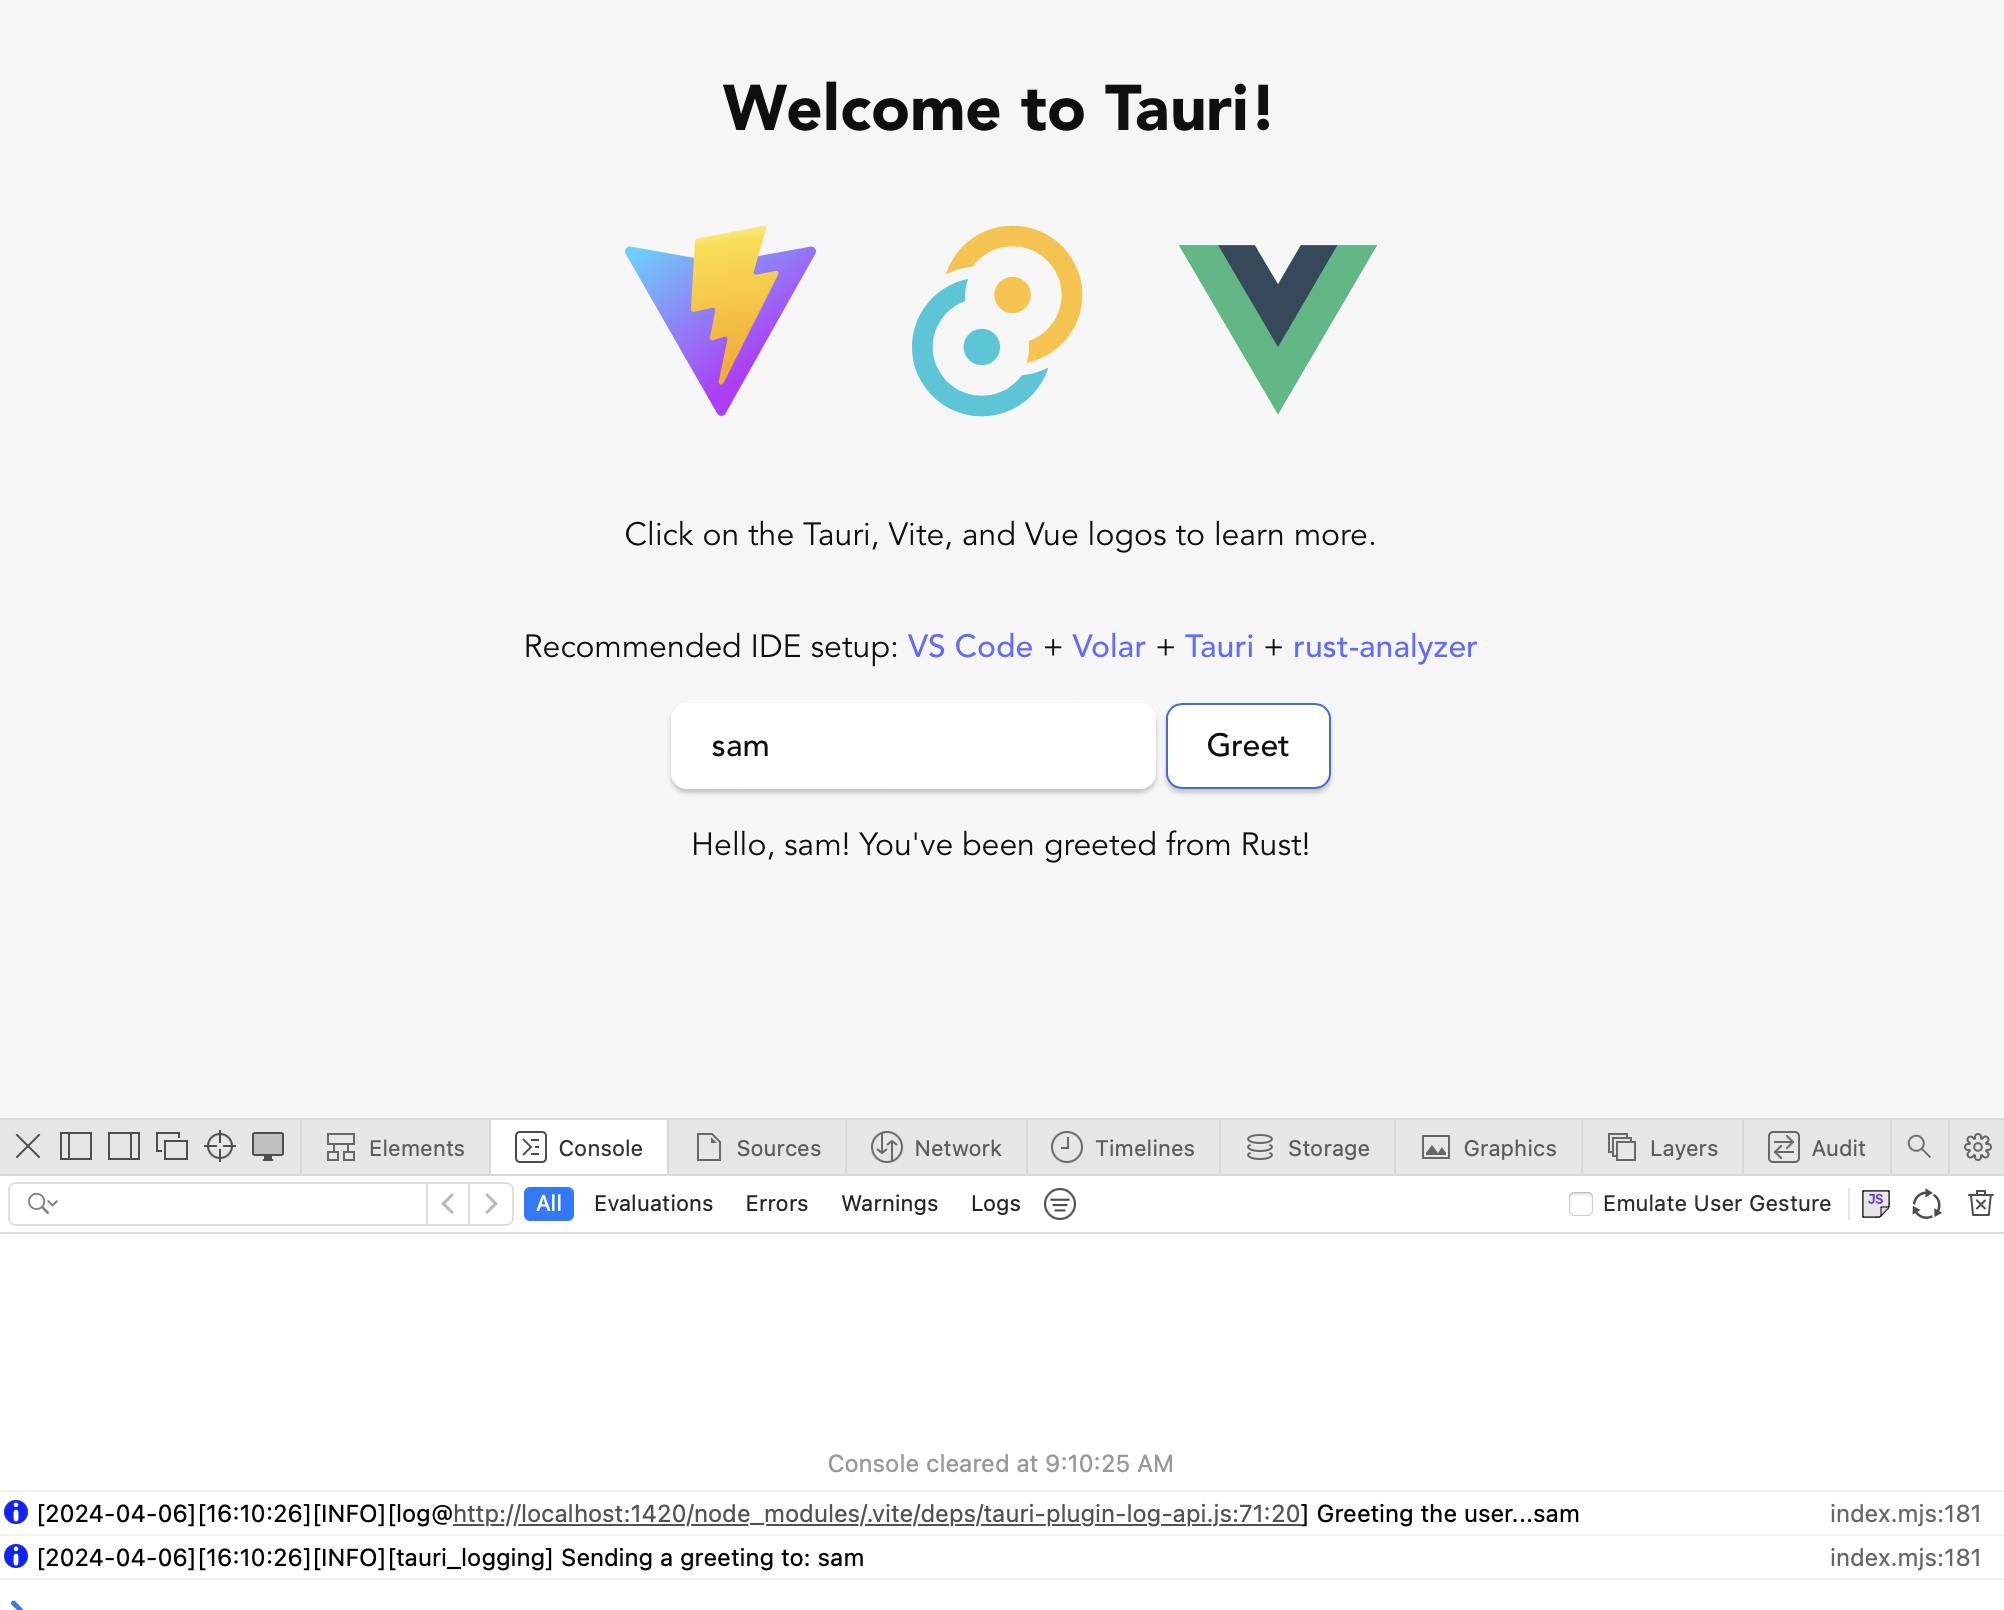
Now if we run the app, we will see logs in both the webview console and in STDOUT
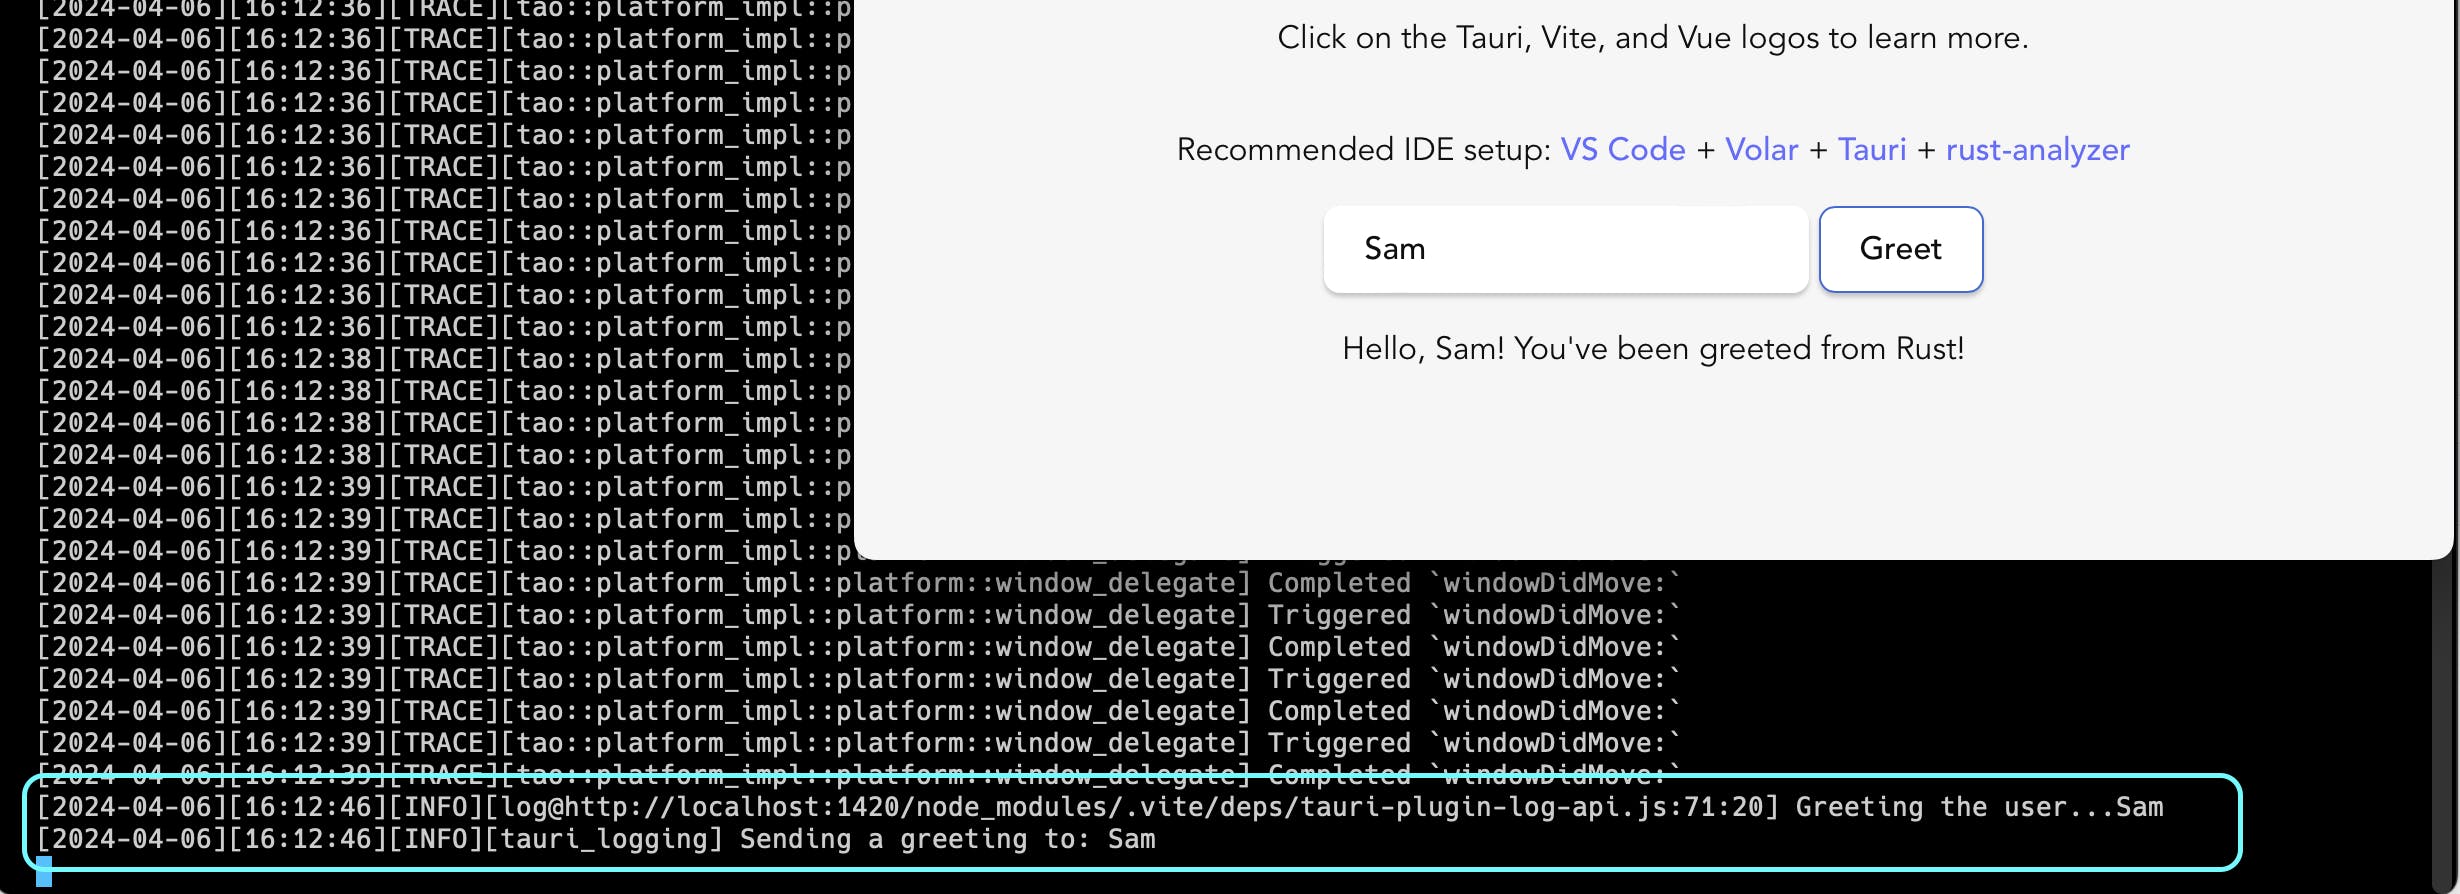
Bonus: Setting log level
From the output above you can see there is quite a bit of output due to all the trace output. Often it might be more appropriate log only info or above. The Tauri logger a LevelFilter mechanism for this.
In main.rs to filter to only info and above log statements, add the .level(LevelFilter::Info) call to the plugin builder.
// main.rs

#![cfg_attr(not(debug_assertions), windows_subsystem = "windows")]
use tauri_plugin_log::{LogTarget};
use log::LevelFilter; //## <-- add this use statement

#[tauri::command]
fn greet(name: &str) -> String {
    log::info!("Sending a greeting to: {}", name);
    format!("Hello, {}! You've been greeted from Rust!", name)
}

fn main() {
    tauri::Builder::default()
        //## add this plugin statment
        .plugin(tauri_plugin_log::Builder::default().targets([
            LogTarget::Stdout,
            LogTarget::Webview,
        ])
            .level(LevelFilter::Info) //# <-- Add this level statement
            .build())
        //##
        .invoke_handler(tauri::generate_handler![greet])
        .run(tauri::generate_context!())
        .expect("error while running tauri application");
}
And now the TRACE statements are gone*.
* It is possible to still see some TRACE logs as the app boots up, as they can happen prior to the Logger plugin being built.
npm run tauri dev

> tauri-logging@0.0.0 tauri
> tauri dev

     Running BeforeDevCommand (`npm run dev`)

> tauri-logging@0.0.0 dev
> vite


  VITE v5.2.8  ready in 147 ms

  ➜  Local:   http://localhost:1420/
  ➜  Network: use --host to expose
        Info Watching /Users/sam/Projects/tauri-logging/src-tauri for changes...
   Compiling tauri-logging v0.0.0 (/Users/sam/Projects/tauri-logging/src-tauri)
    Finished dev [unoptimized + debuginfo] target(s) in 2.43s
[2024-04-06][16:30:53][INFO][log@http://localhost:1420/node_modules/.vite/deps/tauri-plugin-log-api.js:71:20] Greeting the user...Sam
[2024-04-06][16:30:53][INFO][tauri_logging] Sending a greeting to: Sam
Configuring logging for your Tauri app is a straightforward process that greatly enhances your development experience. By leveraging the log crate and tauri-plugin-log, you can easily integrate logging into your Rust and JavaScript code. So give it a try! Implement logging in your Tauri app and see how it streamlines your debugging and monitoring efforts. Don't forget to share your experiences with the Tauri community on Discord!